How to Add Media
“Media” are images and documents.
You can add media to your web page by clicking on the “Add Media” button at the left side of your dashboard or by adding the Gutenberg block titled “Image”.
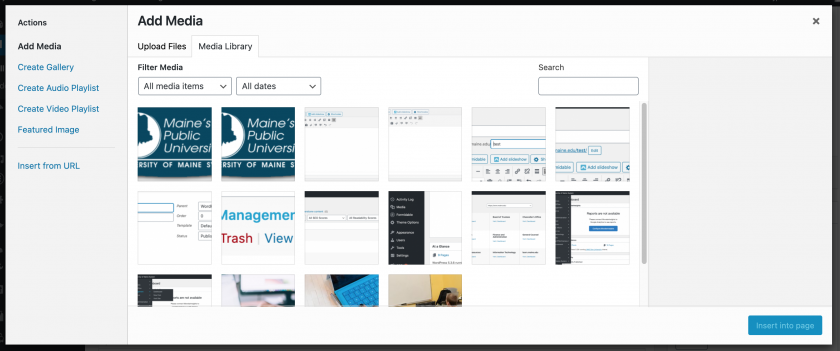
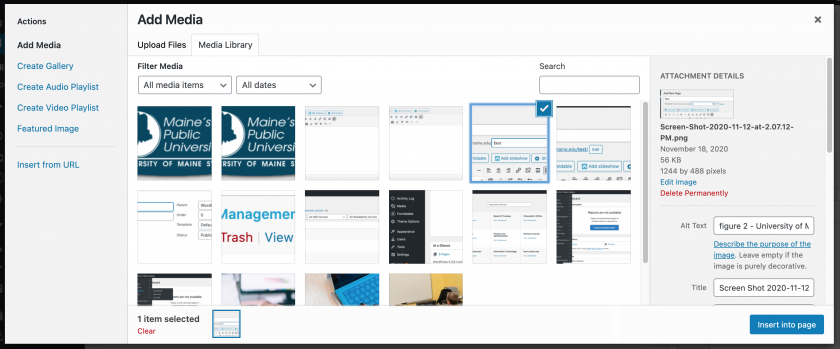
A new window will pop up showing you all of the media already uploaded to your subsite located in the “Media Library,” shown in figure 1. If you select one of these media files, as shown in figure 2, the information stored on that image will appear on the right. You can edit the “Alt Text,” “Title,” “Caption” (which will show on the page), “Description” (which will not show on the page), “Alignment,” “Link To” (if you want the media to open a new link when clicked) and “Image Size.”
You will find the media’s URL here, as well. If you want to link text on your page to a media file you can copy this link, exit out of the “Add Media” window without clicking “Insert into Page,” and then apply the link you copied to the desired text. We will cover adding a link later in the training.
If you are adding an image, once you are happy with the settings, click “Insert into Page” on the button left of the window.


Note: It is your responsibility as a content manager to make sure that all media that is uploaded to the University of Maine System website is accessible; please visit the accessibility instruction pages to understand accessibility requirements and best practices for different media types.
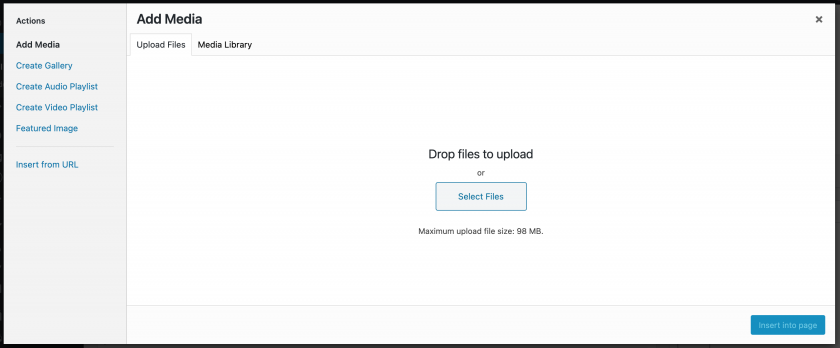
If you want to add a new media item, click on the “Upload Files” tab at the top of the “Add Media” window to open the “Upload Files” window as shown in figure 3. Follow the instructions on the page to upload your new media file. Once you upload the files, the page will return to the “Media Library” tab, where you can edit your file and insert into your page as described before.

